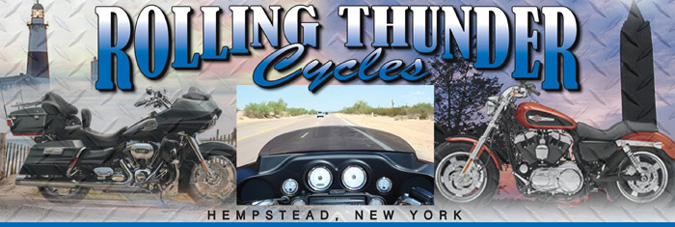
page header02 crop.jpg (145198 bytes)

BACK

Our Service Department installs a new
E-Z Brake Pedal on a 2000 Road King

click on thumbnails to get a more detailed look at each step
01 stock pedal.jpg (53328 bytes)

The stock brake pedal is high and close, forcing the rider to lift his foot off the board in order to activate the rear brake

03 EZ pedal.jpg (15357 bytes)

The E-Z Brake pedal before installation

04 remove flrbrd.jpg (53977 bytes)

1. The floorboard is removed to access the pivot bolt and clevis

05 remove bolt.jpg (45258 bytes)

2. The pedal pivot bolt is removed

06 remove clevis.jpg (41182 bytes)

3. The clevis pin is removed from the brake rod. It's a tough job, as the clevis pin is pressed into the pedal, and the cotter pin is on the back side of the pedal.

07 remove pedal.jpg (39243 bytes)

4. The stock pedal can now be removed from the pivot shaft.

08 inst pedal.jpg (46682 bytes)

5. The E-Z brake Pedal is installed on the shaft

09 inst clevis.jpg (39137 bytes)

6. The clevis pin is pressed through the new pedal, and a new cotter pin installed

10 inst flrbrd.jpg (42513 bytes)

7. The floorboard is reinstalled

11b ez brake.jpg (54353 bytes)

8. The customer's chromed pedal cover has been reinstalled. The E-Z Brake Pedal is noticeably lower and farther forward then the stock pedal. It's now much easier for the rider to modulate the rear brake.

  Home